
Today for you a fantastic recipe for a raw cake that will delight you with its flavor. Both me and my guests were thrilled to eat it and our afternoon spent talking in the garden under my gazebo was certainly sweeter than we hoped 🙂
It is a vegan and gluten free cheesecake, in which the chocolate mousse is processed by placing it on the fire at a very low flame, making sure that the temperature does not exceed 42 ° C or 315,15 K (which corresponds to the temperature at which the enzymes die).

Now let’s move to the ingredients and then to the recipe!
~ ~ ~ ~ ~ ~ ~ ~ ~ ~ ~ ~ ~ ~ ~ ~ ~ ~ ~ ~ ~ ~ ~ ~
For the base:
For the chocolate mousse:
For the garnish:
~ ~ ~ ~ ~ ~ ~ ~ ~ ~ ~ ~ ~ ~ ~ ~ ~ ~ ~ ~ ~ ~ ~ ~
KITCHEN TOOLS ~ For this raw vegan cake, you need:
PREPARATION TIME ~ 30 min for preparation + 2 hours to firm up in the freezer
~ ~ ~ ~ ~ ~ ~ ~ ~ ~ ~ ~ ~ ~ ~ ~ ~ ~ ~ ~ ~ ~ ~ ~

The base. Take the mold for the cake. In the food processor, whisk almonds and cashews until they are cut into fairly small pieces (I recommend, not flour). Pour the mixture into a separate container and after adding the remaining ingredients for the base in the food processor, add the dried fruit mixture (this step is important to mix all the ingredients together).
Whisk again until the mixture sticks to the robot container and the blades turn empty. With the help of a silicon ladle, pour the mixture at the base of the mold and level it. Then put the mold in the freezer.
~
The mousse. Pour all the dry ingredients into a large pot. Slowly pour the milk and mix with a hand whisk in order not to form lumps.
Put the pot on the stove and after a few minutes (when the mousse starts to heat up) pour the remaining ingredients: first oil, sugar, vanilla, dark chocolate and finally, peanut butter.
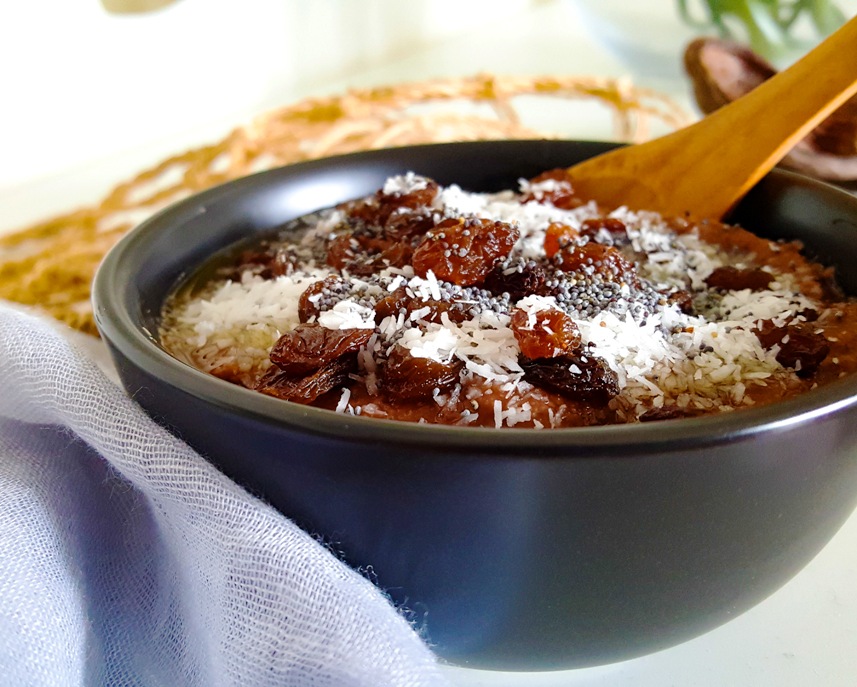
When the mousse reaches the right consistency, let it cool (occasionally turn the mixture). Then pour it into the tart mold.
At this point, add the yogurt helping you with a toothpick to mix and at the same time to make drawings at will. Put the dish back in the freezer for at least a couple of hours.
~
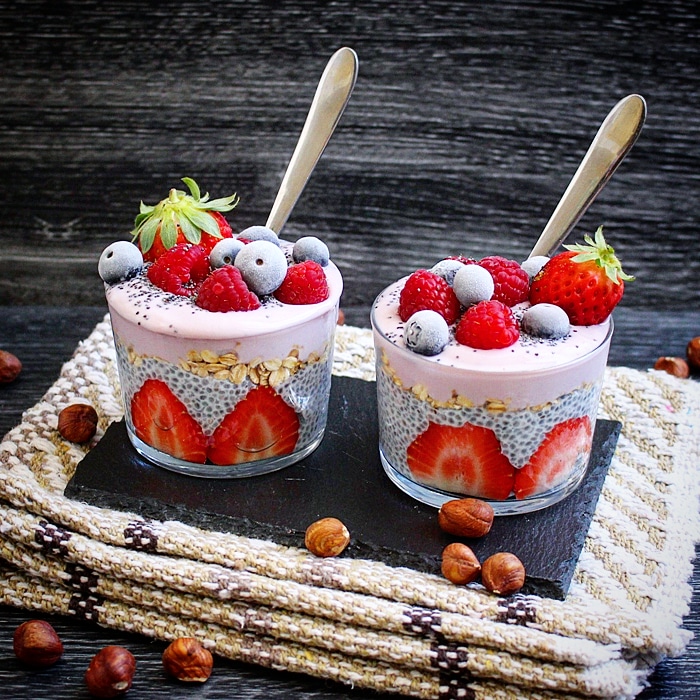
Cake-decorating. After the two hours spent in the freezer, take the cake, extract it from the mold and decorate it with the ingredients for the garnish. (Note. The cheesecake should be kept in the freezer up to 20 minutes before serving)

Et voilà, dessert is served!
If you have a way to try it, do not forget to let me know if you like it …
I will be happy to receive your feedback!
Nota: questo articolo ha scopo puramente informativo. Non sostituisce in alcun modo un consulto medico.


DISCLAIMER
I contenuti presenti su questo sito hanno esclusivamente finalità informative ed educative nell’ambito del benessere e dell’igiene naturale. Gionata Carbone non è un medico, non effettua diagnosi, non prescrive farmaci né terapie mediche. Le consulenze offerte non sostituiscono in alcun modo il parere, la diagnosi o l’intervento di un professionista sanitario qualificato.